What a video wall is, and what it is not
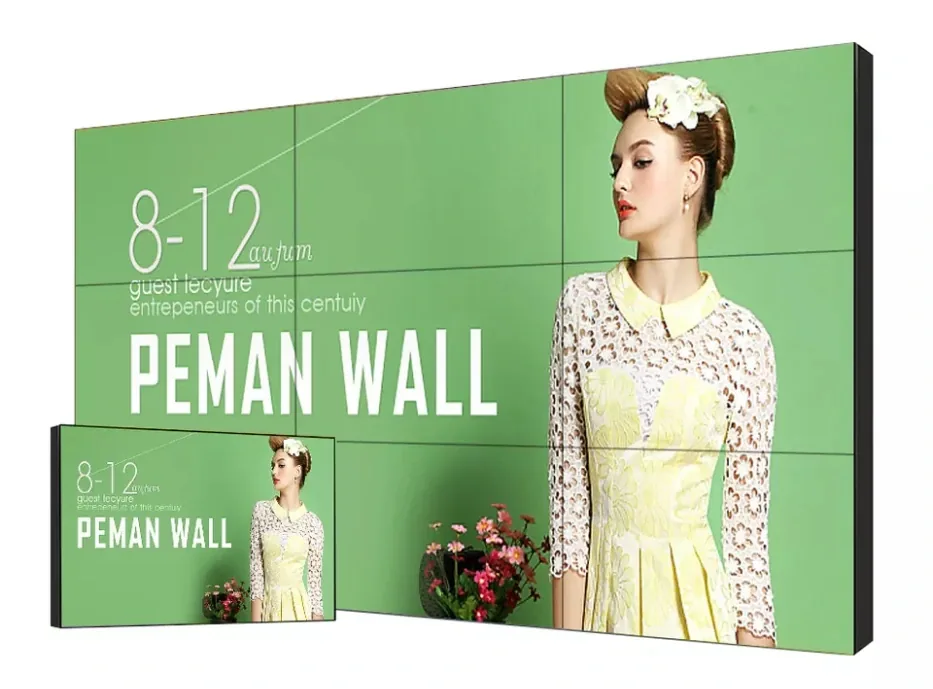
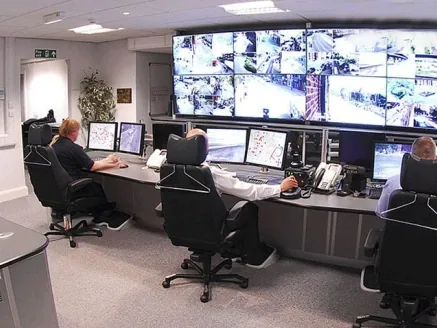
A video wall is a large display surface built from multiple screens or LED modules that are driven as one canvas. In an LCD video wall, several commercial LCD panels are tiled together and a processor distributes the image across the grid. The result is a canvas larger than any single panel, with a visible seam at each tile boundary.
It is not simply several televisions showing the same video. A proper wall needs matched panels, a processor, a stable signal path and a mounting structure that keeps every tile aligned. The design starts with the content and the room, not with the number of screens.
LCD video wall vs fine-pitch LED
LCD walls use commercial panels with a narrow bezel. Fine-pitch LED walls use LED modules and have no bezel, but the pixel pitch, viewing distance and service access change the specification. This guide focuses on LCD tiled walls; if an LED wall is required, confirm the supply scope separately.
| Option | How it is built | Best for | Watch-outs |
|---|---|---|---|
| LCD video wall | Tiled LCD panels with narrow bezels | Control rooms, retail, lobbies | Visible bezel lines, calibration |
| Fine-pitch LED | LED modules, no bezel | Very large walls, bright venues | Higher cost, service access, content scaling |
LCD is usually the practical choice for a 2×2 to 4×4 wall at normal indoor viewing distances, especially when the budget must stay predictable. Fine-pitch LED suits very large canvases or venues where a bezel is unacceptable, but it needs a different structural and service plan. Do not compare the two by price per square metre alone.
Tile size, bezel and resolution
Common LCD tiles are 46, 49 and 55 inch. A 2×2 wall of 55-inch tiles gives a diagonal around 110 inch; a 3×3 wall is larger again. The bezel width determines how much of the image is lost at each seam. For text-heavy dashboards, a narrower bezel and fewer tiles usually produce a cleaner result than a larger wall with many seams.
Resolution must be planned as a whole canvas. If each tile is 1920×1080, a 2×2 wall is 3840×2160 only when the processor and source can drive that canvas. If the source is a single 1080p player, the wall may upscale a small image across four screens and look soft. Ask for the native canvas resolution and the content ratio before approving the layout.
Source, processor and signal distribution
A video wall is a signal project as much as a display project. The source, processor and distribution method must be specified together. A processor that cannot accept the required inputs, or a cable run that is too long for the chosen interface, will limit the wall regardless of panel quality.
| Part | Job | Specify |
|---|---|---|
| Source | Player or computer | Output resolution, content ratio |
| Processor | Splits and maps inputs | Inputs, windows, scaling |
| Distribution | HDMI, HDBaseT, AV over IP | Cable length, latency, redundancy |
| Display | Tiles and bezels | Bezel width, brightness, calibration |
For a control room or a retail wall with live data, ask how inputs are switched, how a source failure is handled and whether the wall can fall back to a default layout. For a simple brand wall, a fixed layout may be enough. The processor should match the workflow, not the other way around.
Mounting, alignment and service access
The wall structure must carry the weight of every tile and keep the seams aligned. A floor stand, a wall frame or a recessed opening all change the access method. Leave enough space behind or beside the wall for service, and confirm whether a tile can be removed without dismantling the neighbouring tiles.
Alignment is a process, not a one-time bracket setting. Temperature, building movement and installation tolerances can shift the seams. Ask for the alignment method, the allowed tolerance and who checks the wall after installation. A wall that looks perfect on day one but cannot be serviced is a future problem.
Content layout and viewing distance
Design for the wall, not for a single monitor. Keep critical text away from the seams, use a grid that matches the tile boundaries and test the actual dashboard or video at the real viewing distance. A wall viewed from three metres needs larger text and fewer simultaneous windows than a control-room wall viewed from one metre.
If the content is a live dashboard, confirm the source layout and the processor scaling. If it is brand video, confirm the aspect ratio and whether the video is produced for the full canvas or repeated per tile. The most common disappointment is not the panel; it is content designed for a 16:9 screen shown across a 32:9 wall.
Environment, heat and reliability
A video wall often runs longer than a single display and sits in a room where heat builds up. Confirm the ventilation around the wall, the operating temperature and the service plan. For a recessed wall, leave space for airflow and access; do not seal the panels into a closed cavity.
For mission-critical walls, ask about redundant power, spare tiles and the calibration procedure. A spare tile kept on site can restore the wall faster than a warranty shipment. For retail or lobby walls, a brightness and colour check after installation prevents a visible mismatch between tiles.
Site checks before a video wall quote
Send the room photo, wall dimensions, viewing distance, proposed grid, content type, source devices, signal distance and service access. Add whether the wall is floor-standing, wall-mounted or recessed, and whether the building has structural drawings. These facts decide the tile size, processor and mounting method.
The reply should list the exact tiles, bezel width, processor, mounting structure, canvas resolution and the items still to be confirmed. Use the links below to open the LCD video wall family, compare a model or send the site details.