
Retail signage is a store system, not a screen count
Retail digital signage works when each screen has a job in the customer journey. A window screen stops traffic, an entrance screen orients people, an aisle screen explains a category and a checkout screen answers the next question. Adding screens without assigning jobs produces noise and makes the store feel busier without being clearer.
Start with a store walk: what does a customer see first, where do they slow down, where do they queue and where does staff answer the same question every day. Those points are candidates for screens. The display format, brightness and content follow from the location.
Map the zones before choosing screens
A simple four-zone map covers most stores. Each zone has a different viewing distance, dwell time and content job. Use the table as a starting point, then adjust to the actual layout.
| Zone | Screen role | Content | Check |
|---|---|---|---|
| Window | Stop traffic | Campaign loop, high contrast | Brightness, reflection, glare |
| Entrance | Orientation | Store map, hours | Height, reach |
| Aisle | Category promotion | Price, product, QR | Shelf alignment, cable route |
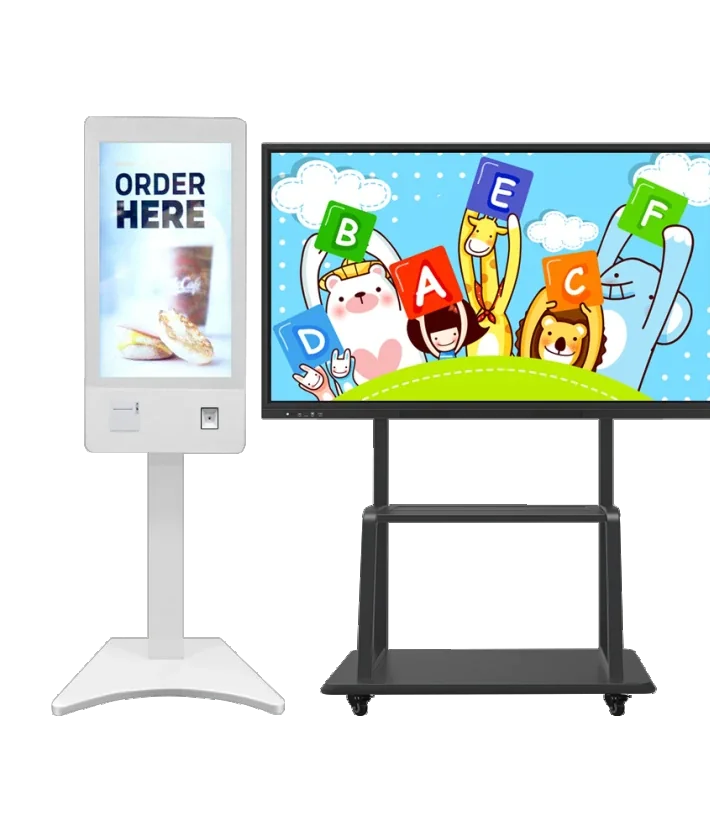
| Checkout | Queue | Queue info, add-ons | Sightline, content duration |
A window screen fights the sun; an aisle screen fights visual clutter; a checkout screen competes with the transaction. The same content loop will not work in all four. If the budget is limited, give the window and the checkout the best screens and use simpler displays in low-dwell areas.
Window displays and brightness
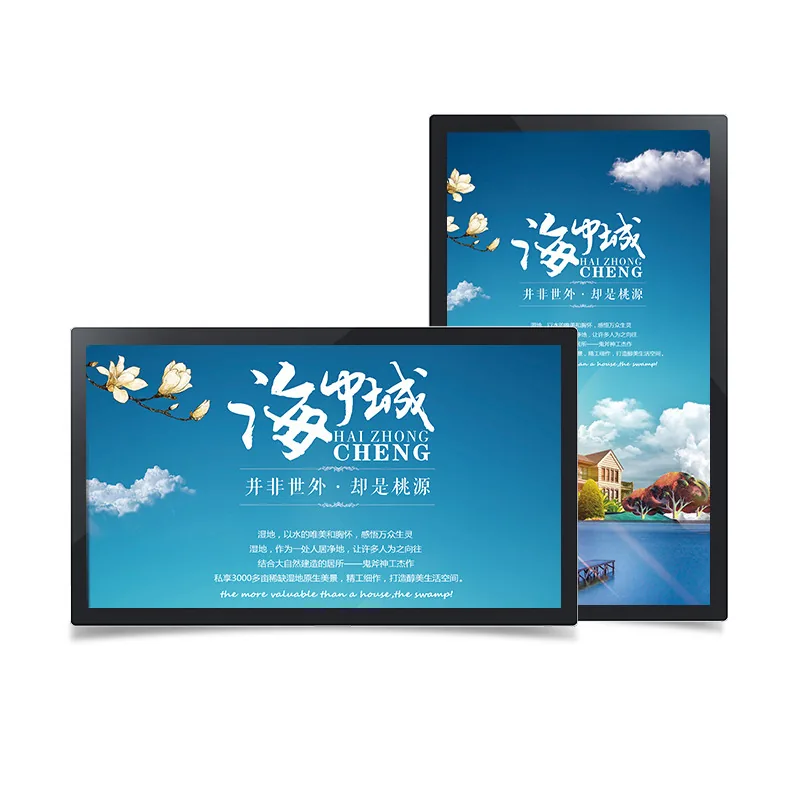
A window is the hardest position in the store. The screen faces daylight while the viewer stands in a darker interior, so reflections and glare matter as much as brightness. A high-brightness panel helps, but the glass, the hood and the screen angle can matter more than the number on the datasheet.
Test the actual window at the actual time of day. If the screen is visible from the street, check the viewing angle from both the pavement and the entrance. For a south-facing window, consider a light sensor, a higher-brightness panel and a content palette that does not rely on dark backgrounds.
Aisle, shelf and promotion screens
Aisle screens work when they are aligned with the category and the shelf. A screen showing a promotion for a product three metres away creates a disconnect. Keep the content close to the product, use short loops and place the screen where it does not block the shelf or the aisle.
Shelf-edge and small aisle displays are often better for price and availability than a large wall. A large screen can carry brand campaigns, but it should not be the only place a customer can see a price. Use the screen to support the shelf label, not to replace it.
Content cadence and dayparts
Retail content has a different lifespan from a campaign. Price and sold-out messages change daily; promotions change weekly; brand campaigns change monthly or seasonally. If all content is updated on the same schedule, the screen will be either stale or overproduced.
| Timeframe | What changes | Owner |
|---|---|---|
| Daily | Price, sold-out, daypart | Store or marketing |
| Weekly | Promotions, new stock | Marketing |
| Monthly | Campaign, seasonal | Brand |
| Quarterly | Layout, hardware check | Operations |
Name an owner for each timeframe. A screen that only the head office can update will drift out of date between campaigns. A screen that any staff member can edit will accumulate inconsistent layouts. The CMS should give the store a small, controlled set of fields and keep the brand template locked.
Measuring retail signage without invented numbers
Do not promise a sales lift before the screen is installed. Measure what the store can actually observe: footfall at the entrance, dwell time in the aisle, queue length, staff time spent answering questions and sales of the promoted item. Compare a test period with a control period or a similar store.
A simple before-and-after test is weak if the promotion changed at the same time. Keep the offer, price and staff script stable during the test, and change only the screen content. If that is not possible, treat the result as directional rather than proof. The goal is to learn which zone and which message deserve the next screen.
Retail display selection checklist
Before quoting, confirm the zone, viewing distance, screen size, brightness, mounting, player and content source. Window and checkout screens usually deserve the best panels; stockroom or back-of-house screens can use simpler models.
- Zone and task: what should the customer do after seeing the screen?
- Viewing distance and text size: test the real layout at the real distance.
- Brightness and reflection: window screens need more than indoor panels.
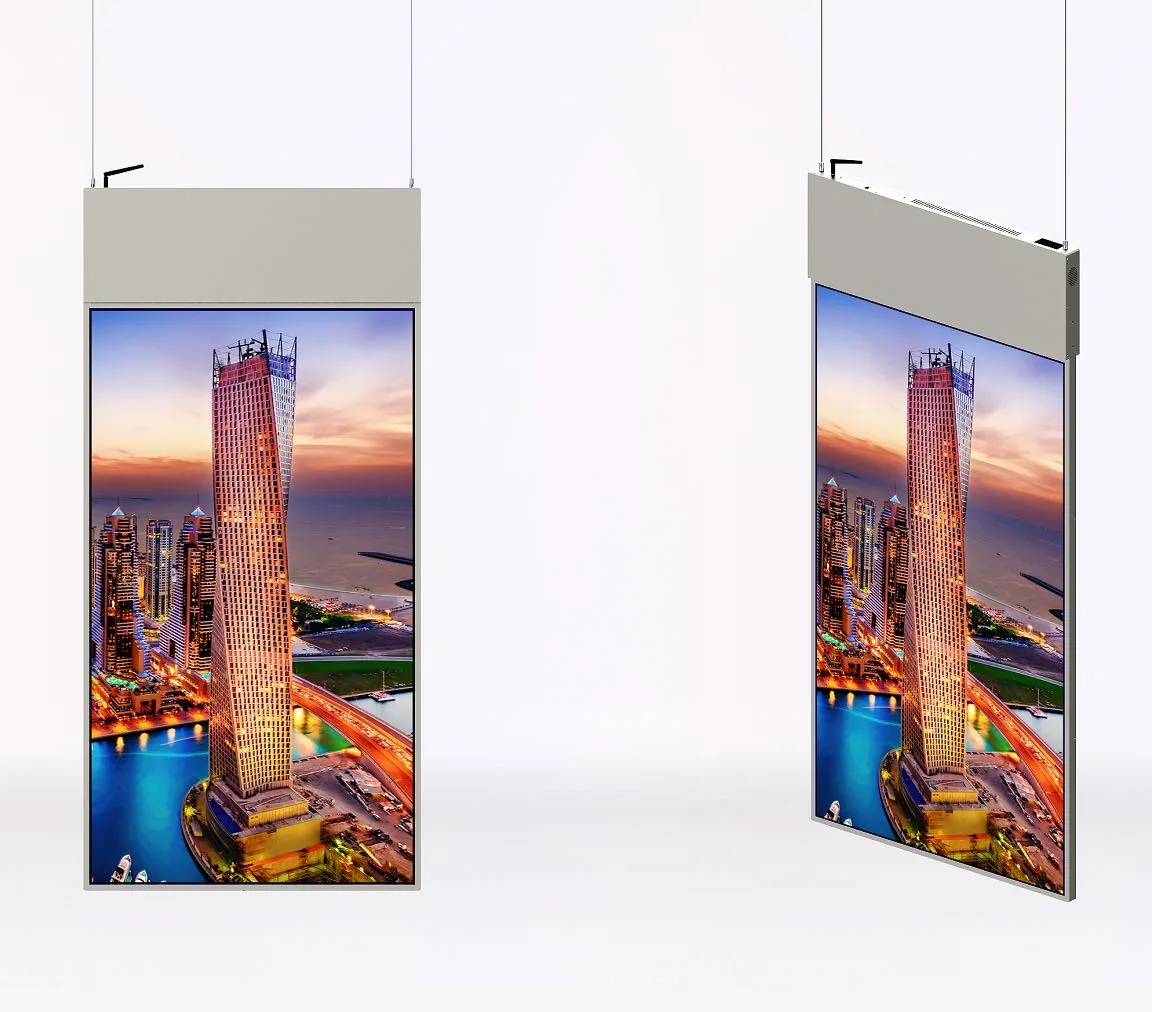
- Orientation and mounting: portrait, landscape, wall, ceiling or floor.
- Player and CMS: who updates prices, and how often?
- Service access: can staff reach the player and cables without closing the area?
- Power and network: confirm outlets, cable routes and Wi-Fi or Ethernet.
A retail rollout usually needs fewer models than the first plan suggests. Standardise one window model, one aisle model and one checkout model; then the CMS template, spare parts and staff training stay consistent. Variety is useful for the store design, not for the service inventory.
From store walk to a model list
Send the floor plan or store photos, the zones you want to cover, viewing distances, window orientation, content type, number of stores and who will update the content. Add the destination country and whether the screens will be installed by your team or a local contractor.
The reply should propose a zone-by-zone configuration, list exact models and note the values that still need confirmation. Use the links below to compare retail-ready display families, open a model or send the store details.